To prepare a glass plate, the photographer ground down the edges of plate glass with oil of turpentine and a fine file. He then carefully cleaned and polished the plate, removing it from the plate-holder and placing it in a grooved plate box. Glass plates were cleaned and polished no more than twelve hours before their use. The possibility of the introduction of dust was too great to allow for any more time than that to lapse between polishing the plate and coating it with collodion.
Photographic collodion is a mixture of raw cotton treated with nitric and sulfuric acids dissolved in ether and alcohol, with iodide and bromide added.
To make a negative, the photographer poured a puddle of collodion in the center of a clean glass plate and tilted it back and forth until it was evenly distributed. The photographer then drained off and collected the excess collodion for future use.
After the glass plate was coated with collodion it was sensitized with silver nitrate in the darkroom or darkroom tent. Silver nitrate binds with iodide and bromide to make a silver halide coating, which is sensitive to light.
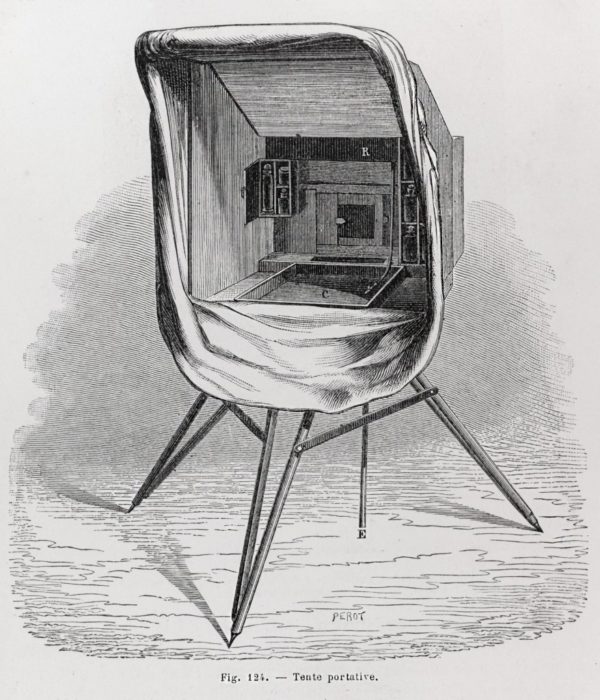
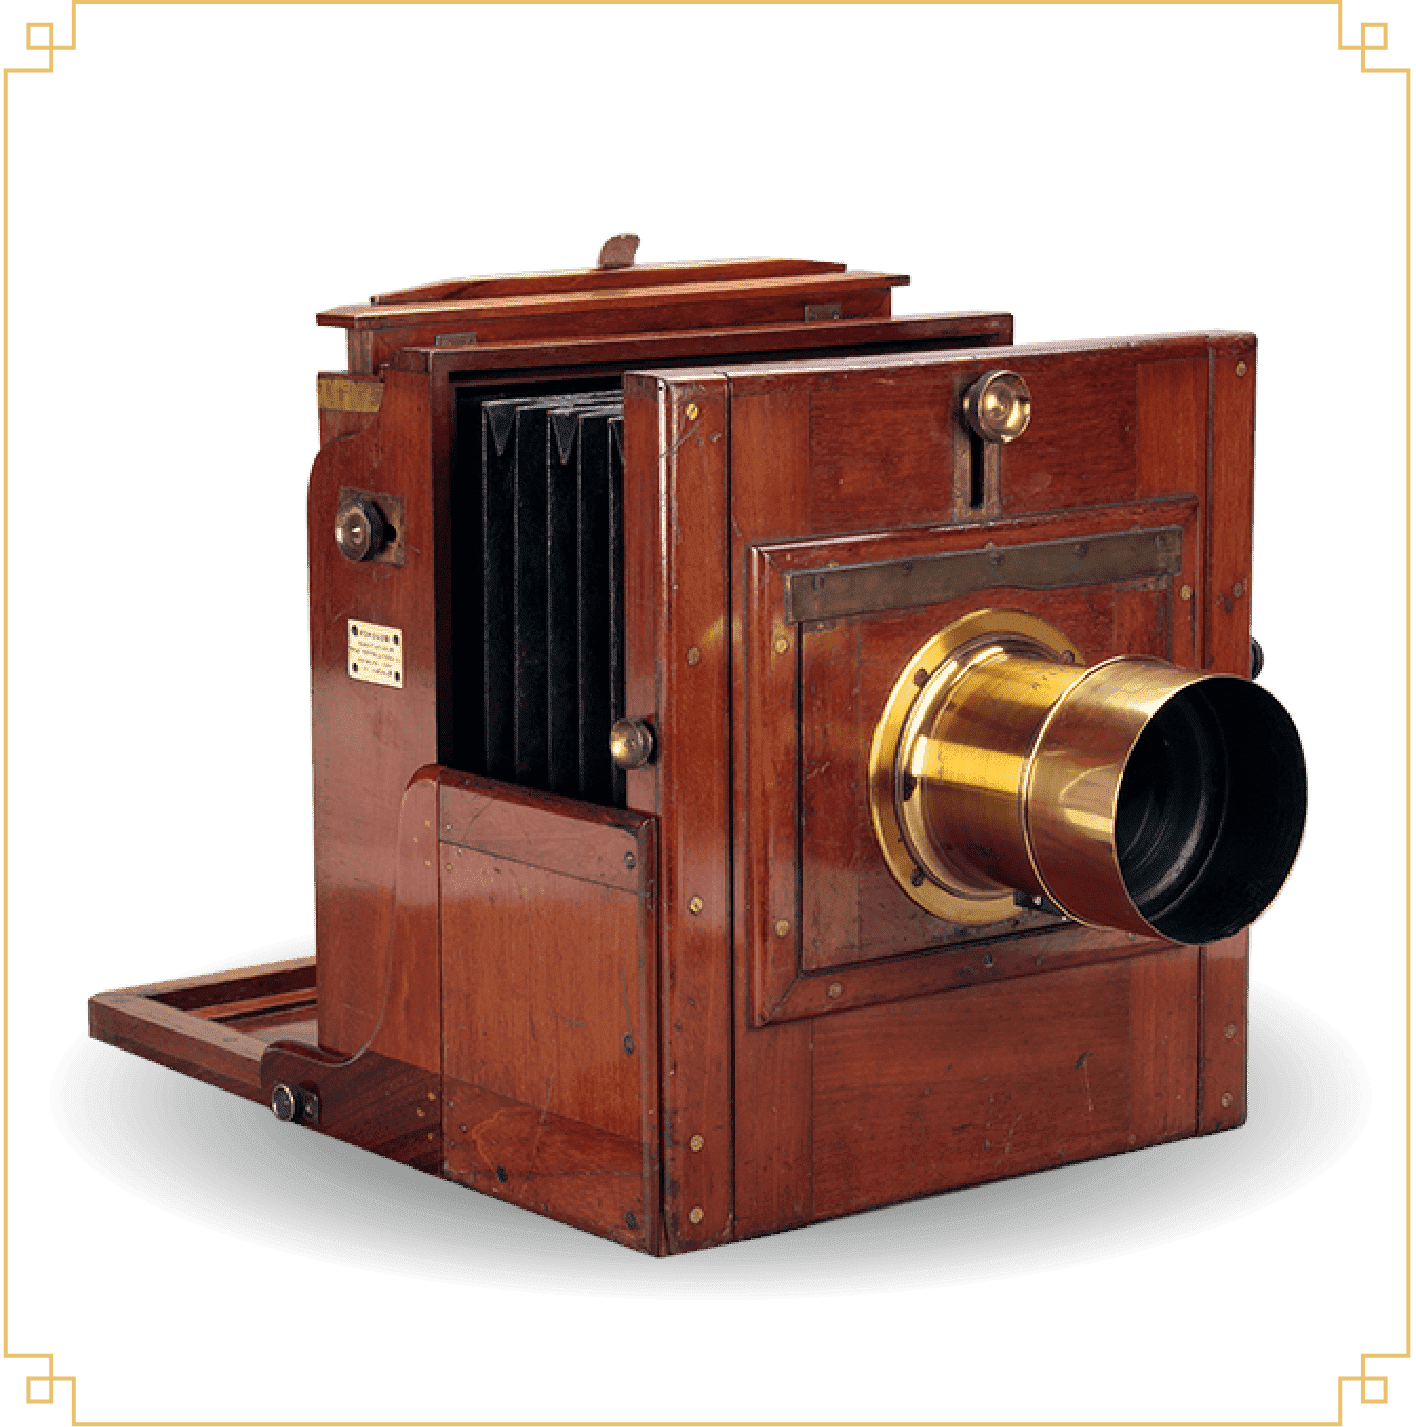
While still in the darkroom tent, the photographer placed the glass plate in a light-proof holder and inserted the holder in the camera.
The photographer removed the lens cap from the camera to expose the plate, allowing the light to enter the camera and strike the light-sensitive collodion.
Exposure times varied from 20 seconds to 5 minutes depending on how fast the silver halides reacted to light, how much light entered through the lens, and the amount of light that hit the subject. The photographer then ended the exposure by placing the lens cap back over the lens. He then removed the light-proof plate holder from the camera and returned it to the darkroom for development.
In the darkroom, the photographer removed the glass plate from, its holder and developed it in a solution of iron sulfate and acetic acid. He then removed the developer by rinsing the glass plate with water. After rinsing, the plate could be safely removed from the darkroom.
The photographer next fixed the image on the plate by placing it in a tray of sodium thiosulfate, which acted as a fixing agent.
The photographer again rinsed the glass plate, this time to remove the fixing agent before it dried.
To protect the negative, he applied a coat of varnish to the plate. After warming a bottle of varnish and the plate over a flame, the photographer coated the glass plate with varnish on the emulsion side of the plate.
A visible negative image appears on the plate.
For permissions and inquiries please contact:
446 Kent Avenue PH-A Brooklyn, NY 11249 USA